How to Add a Facebook Pixel and events to my Fastcard
Adding a Facebook pixel to your Fastcard will help you track events happening on your Fastcard as it would do it on a regular Website. It also would help you to retarget your Fastcard's visitors on Facebook Ad Campaigns.
Follow these simple steps to add a FB pixel and events to your fastcards.
Create a new Pixel in your Facebook business manager account. If you don't know how please visit: Create a Facebook Pixel in Business Manager.
After following those steps, please select the option of "Manually add the pixel code to my website."
Next, click on continue, as you won't need the code shown.

Now, select the pixel you're going to be using, copy the ID, and open it on "Event Manager."

 Before continuing, paste the Pixel ID you just copied onto your Fastcard
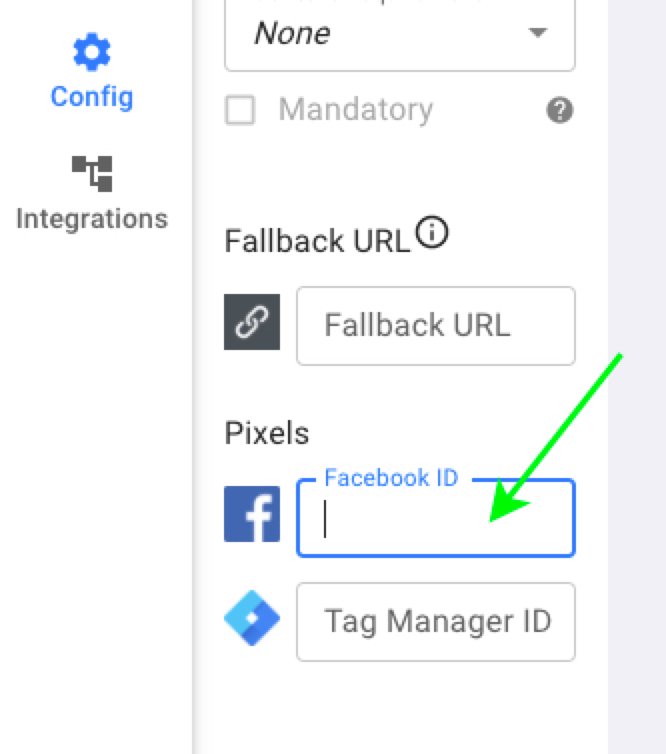
Go to the Fastmind platform, and to edit your Fastcard. Then click on Config on the left side of the platform, paste the ID on the Facebook ID box, and update your Fastcard.


Now let's add events to your Fastcard.
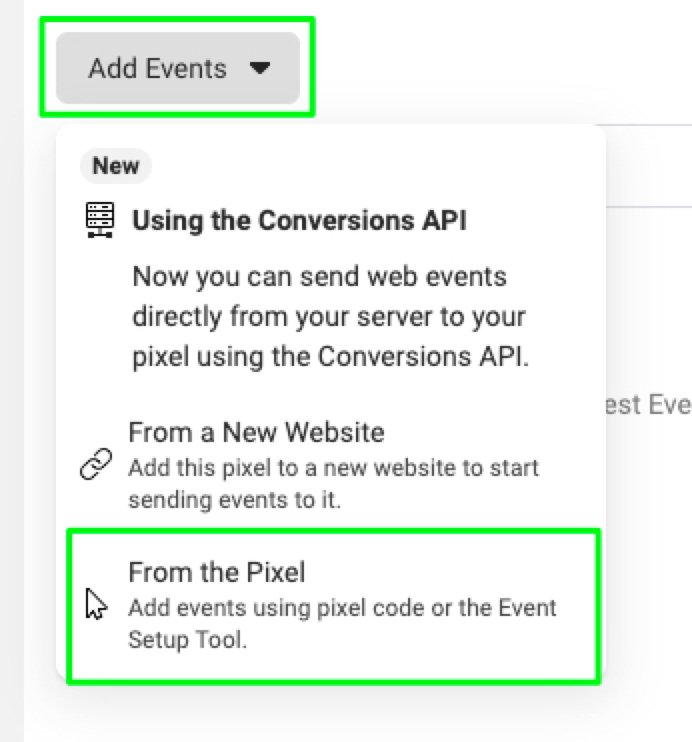
1. First, Click on Add Events and then on "From the pixel".